Imaging 2
Tuesday, November 30, 2010
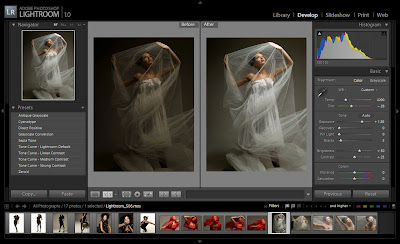
LIGHTROOM. PART 2.
KEYBOARD SHORTCUTS!!!
SHOW FILTER BAR = \
GROUP INTO STACK = COMMAND+G
3 different ways to expand and collapse the stack:
-Photo > stacking > unstack
-Shift+Command+G
-Click on the little 4 at the top left corner of the image
When you collapse the stack, the images all come back together.
Create virtual copy of an image - Command+'
PSD!
1. Open image up in camera raw and make basic adjustments
2. Open into photoshop as a smart object
3. Create a black and white adjustment layer and set the blending mode to 'soft light'.
4. Create a hue and saturation adjustment layer and bring down the saturation
1. How would you do the same thing using Lightroom ? Create a virtual copy of the image!
2. What are the advantages / disadvantages of each approach ?
ADVANTAGE! Saves space on the disk
DISADVANTAGE! Requires speciality software to view the copies of the images
BLENDING MODES!
Used to determine how two layers are blended together visually.
This excersize demonstrated how to use blending modes as well as create contrast, lightness and darkness and combine two images.
Can be found as a drop down menu near the layers menu!
This excersize demonstrated how to use blending modes as well as create contrast, lightness and darkness and combine two images.
Can be found as a drop down menu near the layers menu!
4. Additive/Subtractive colour.
Excersize involved learning key board shortcuts for functions on photoshop and simulating visually the additive and subtractive colour systems using circles and blending modes on photoshop.
Wednesday, September 29, 2010
Lesson 12. NDE Operations.
NON DESTRUCTIVE:
*Levels/Curves
*Flip Layer
*Save file from ACR
*Layer Opacity
*Add adjustment layer
DESTRUCTIVE
*Clone stamp
*Dodge/Burn
*Merge/Flatten image
*Paint Brush
*Cutting part of an image out from the background
*Erase tool
*Transform Selection
*Flip Selection
*Convert to B&W
*Apply a filter
*Change bit depth of an image
*Resizing
*Apply layer style
*Crop
Wednesday, August 25, 2010
Excersise 7 - Smart Objects
Tuesday, August 24, 2010
Subscribe to:
Posts (Atom)